A Facebook post from a friend of mine triggered a new project… how cool it would be to build an old school arcade machine? I did some internet digging and found some examples, some plans, and even step-by-step tutorials. I already had a Raspberry Pi B which was unused, so it would be a cool way to put it to use.
There is a lot of info online, but the most important resources I’ve found to be quite helpful were a site with free plans, some videos and an Instructable (check Resources below). I soon found out about Retropie (also link below), and burning an SD card with an image was quite easy.
1 – Design
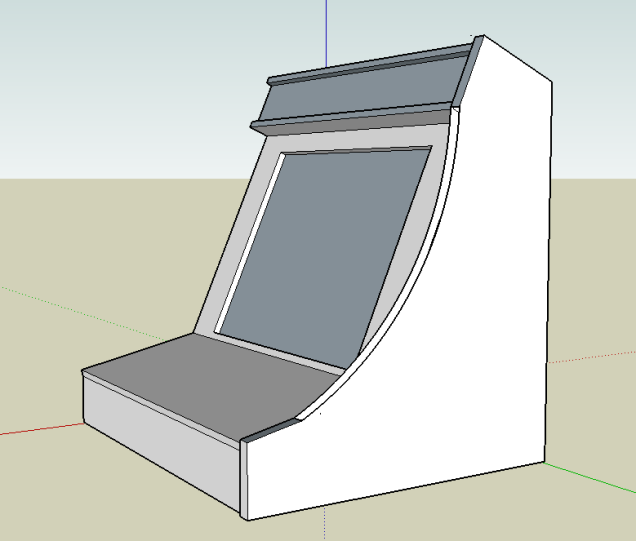
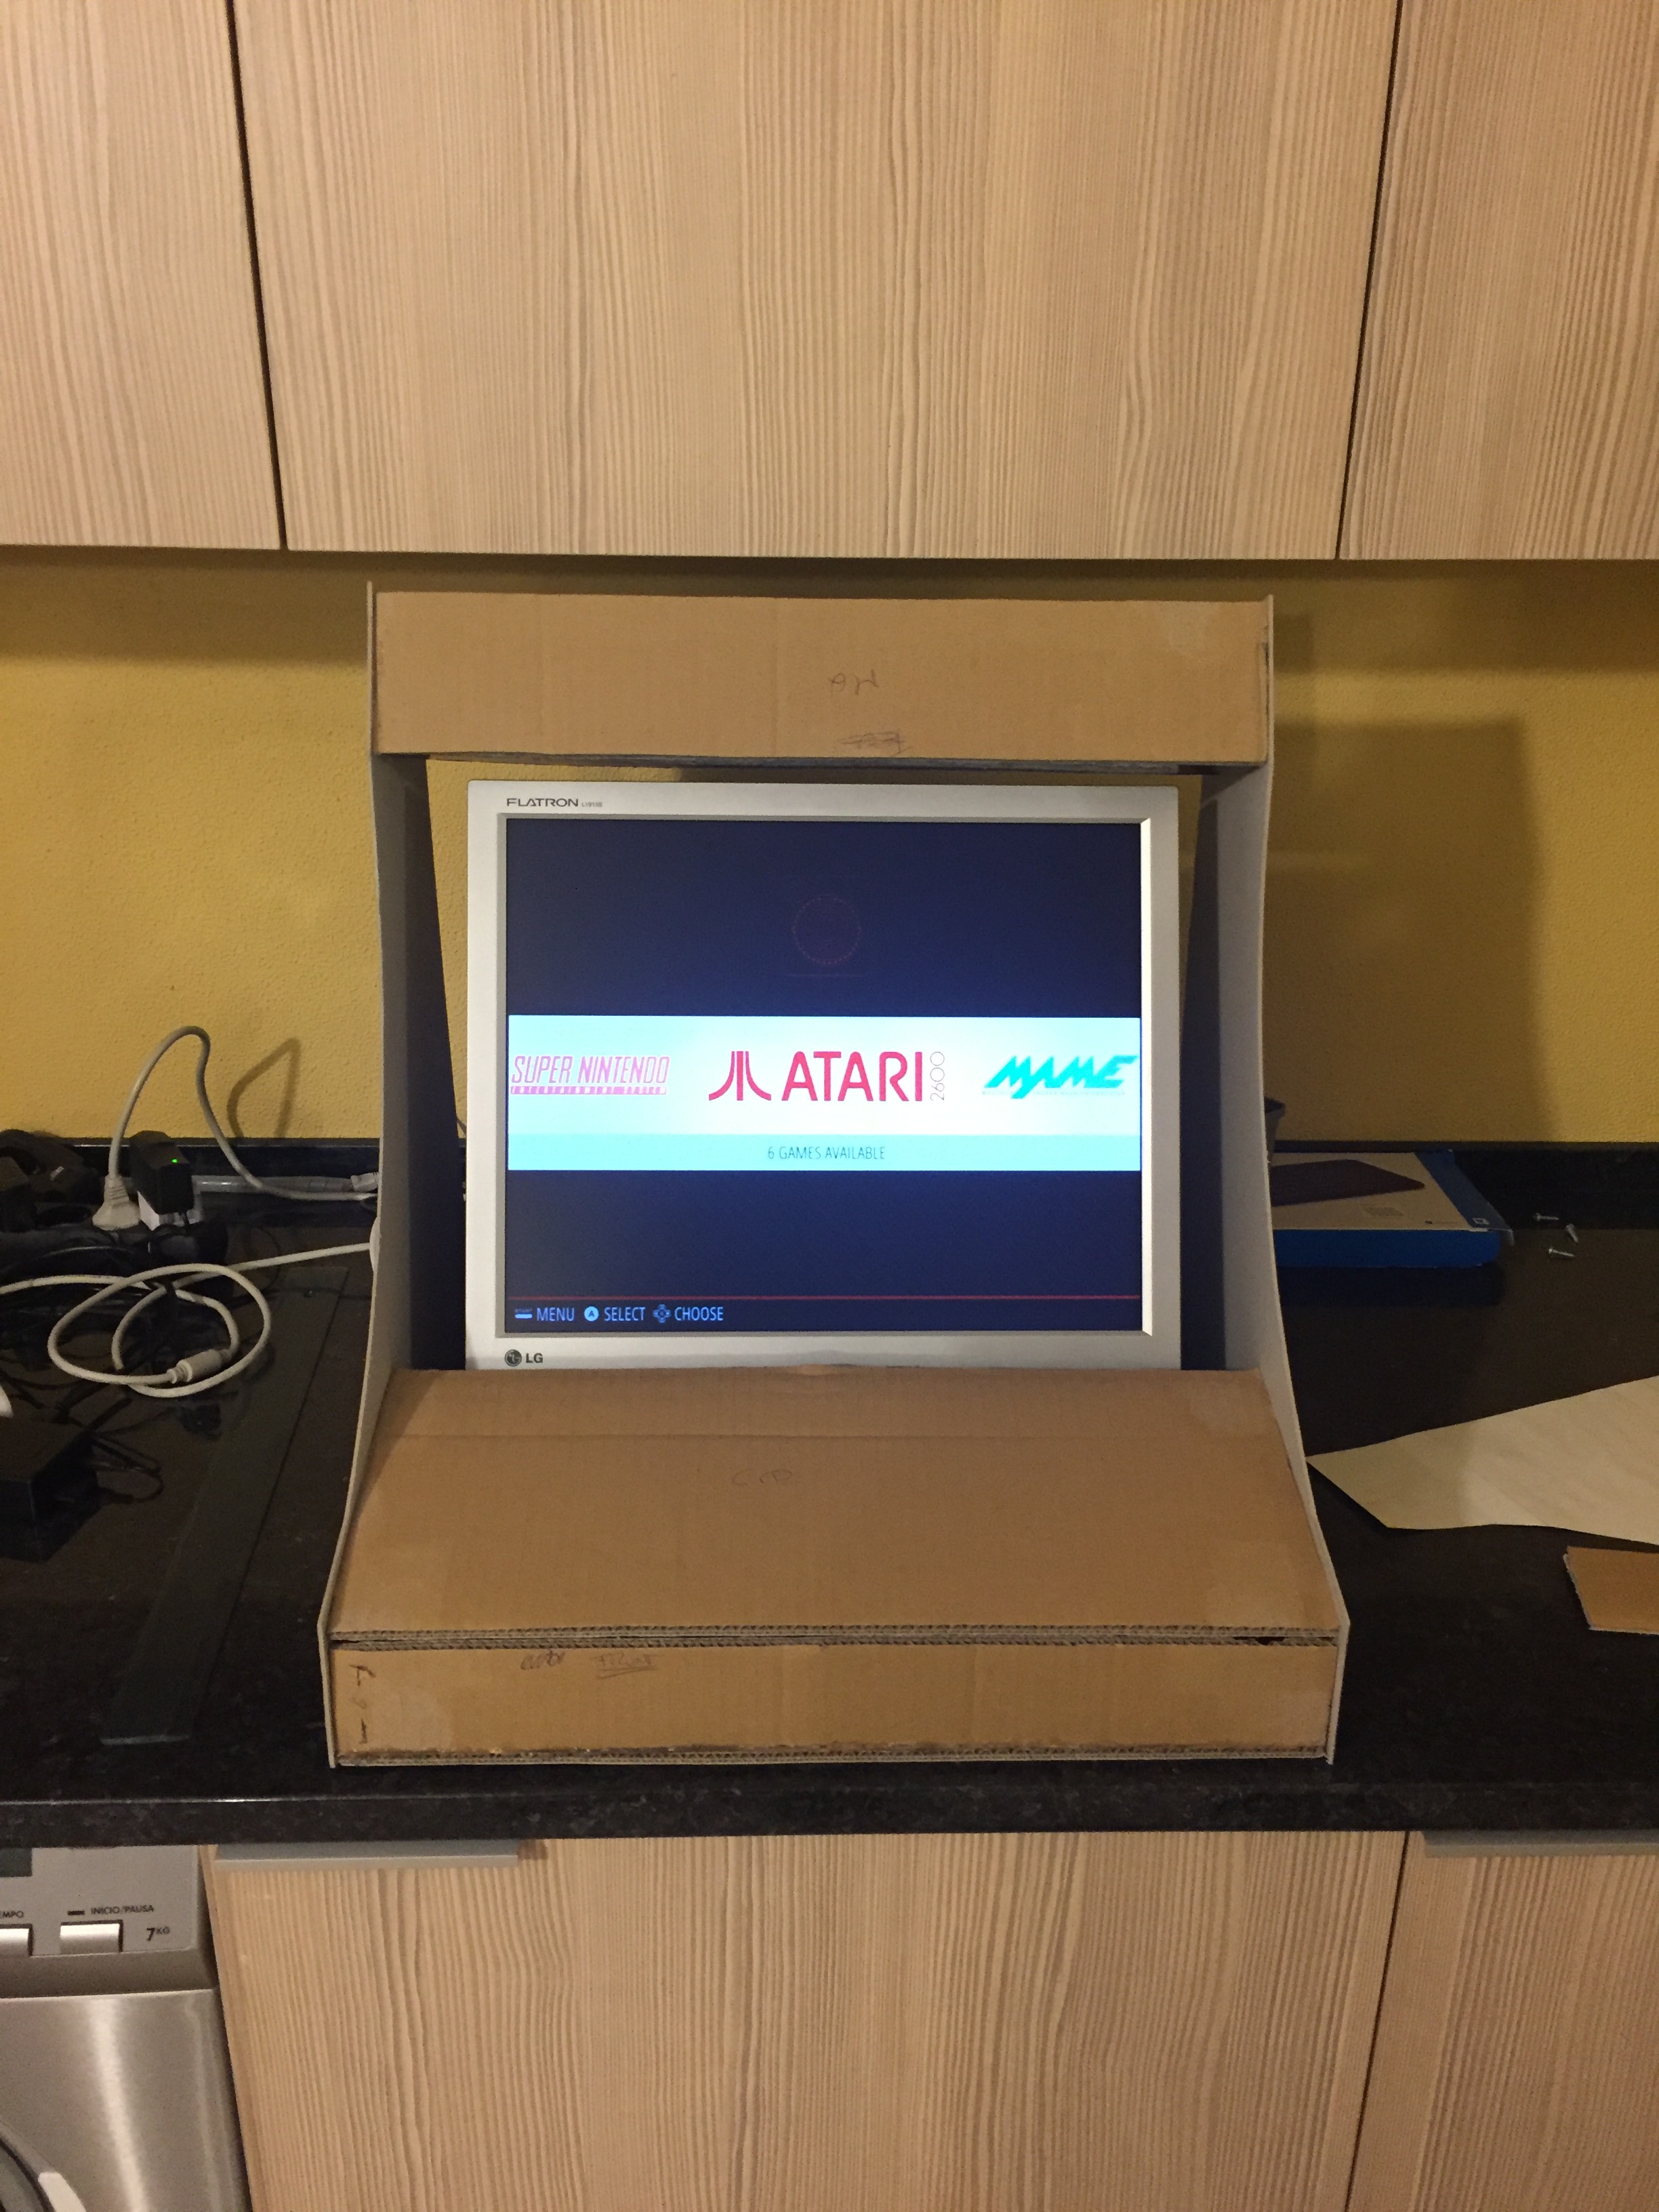
First challenge…All the free plans I’ve found out would not fit the area I designated for the Bartop…so I went Rambo on it and designed my own plans in SketchUp! After some iterations and cardboard trials and I’ve finally found out a design which would work for me.
The design requirements were:
- Compact design
- Maximum height of 55 cm, in order to fit between the countertop and the cabinets
- Reduce the MDF cost to a minimum
- 90º cuts when possible, as my woodoworking skill are not the best
- It had to had some T-moulding for that old-school feel, but again reducing costs to a minimum
If you want the plans send me an email and I’ll get back at you!


2 – CPU+Display+Sound
As mentioned before, I wanted to use the RPi I’ve had with no special use, so the CPU was decided. I’ve burned a Retropie image to an SD Card and soon I had this running. Some games lag a little bit, but the NEO-GEO, SNES and MegaDrive work like a charm.
For the display, I’ve found a cheap used 19′ 4:3 display online, but it was only VGA. The output of the RPi is HDMI, so I needed a converter. Here an important tip, if you need a converter go towards a powered one, passive often don’t work properly.

Having this figured out, next step was the sound: no gaming machine is good if it’s silent… The RPi only has low-power outputs, so an amp was required. I found one really cheap online and also some speakers. I’ve used some parts I already had (USB cable for power + 3.5mm stereo jack with cable), and after some time soldering I got myself an audio system… It’s far from being and audiophile setup, but for what I’ve wanted and the money I was willing to spend, it worked like a charm.


In the end I’ll be adding a list of the things I’ve purchased, where did I bought it from and the costs.
3 – MDF
My woodworking skills are not the best… that being said, I wanted to make my life the easiest possible, and keep the costs low. This lead me to think mostly on 1 mm thick MDF except on the sides. Since I wanted to add T-Moulding, and also to enhance the structure of the whole thing as it’s bound for some abuse, I’ve thought on using 16mm. After some Tetris planing in order to optimize the use of the MDF boards, I’ve ended out with a setup that only required the following boards:
(to be continued… The planning phase is over and I have most of the stuff figured it out, nevertheless I’ll keep this project on hold for a little bit… I have several other which require my attention and it’s better to finish the pending ones before starting new ventures…)
P.S.: For those who want such a DIY, but don’t want to mess with the woodworking, search on eBay and you’ll find stuff like this for about 150€ or less… I just prefer to build my own, as nothing beats the “I built this!” feeling, even if the final outcome is not as perfect… 😀
Resources:
- Pretty cool Instructables post: link
- Free plans online: link
- Cool build with plans to buy, but great videos with some useful techniques: link
- Retropie webpage: link
Take care and be safe out there…
AGT
